Here's a little tutorial I've patched together to illustrate what I mean:
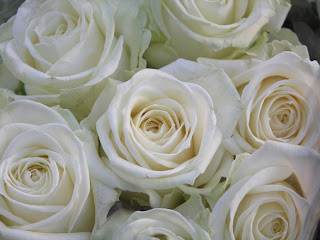
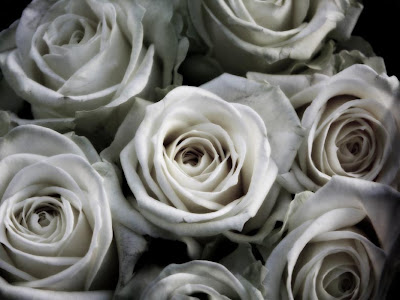
1. First off you need a photo; I've downloaded mine from sxc.hu (http://www.sxc.hu/photo/710131)
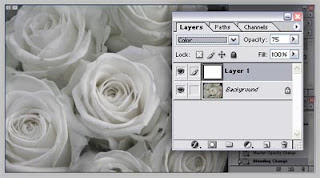
2. Make a new layer and colour it white.
Now change the mode to "colour" and the opactiy to 75%.
3. The roses look a bit damp, but that's nothing a little contrast adjustment won't fix. Duplicate your background layer and go to Image > Adjustments > Brightness/contrast.
Put brightness to -25 and contrast to +35 and watch those roses come alive.
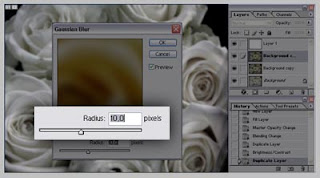
4. Now duplicate the previous layer and go to Filter > Blur > Gaussian Blur. The size of this file is quite big, so I've put the blur to 10. (Remember this won't apply for all photos, so this is where your "personal twist" comes in. Same goes for the brightness/contrast adjustments.)
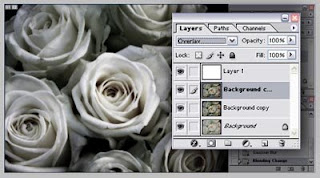
5. The last step is actually the same as the first one!
Change the layer mode to "overlay" and you're done.
So there it is then!
Now, if you please, stop bothering me.
Cheers.


2 kommentarer:
Thanks for the helpful tutorial man. I think I'm going to start trying something similar.
Glad you found it useful :)
Legg inn en kommentar